Tuesday, December 20, 2016

Stepping Out in My Stretch Velvet Holiday Skirt!

At this December Solstice time of year, we see a gradual increase in light until it reaches its peak at June Solstice. We can work with this natural cycle in our creative lives. We can celebrate our "wins" and our creations. It's also an amazing time to reflect on our lessons learned and decide what we are willing to let go of as we enter this new year. What powerful intentions are you ready to dream into? 


My collaboration with Laurel and my entire team at Stonemountain & Daughter is a manifestation of my creative dreams. You can read back through this blog and see all our accomplishments and witness this community that we are a part of. I shared with you my process of "pruning" at my store and releasing the Sewing School that I created 20 years ago. I am feeling into the renewal and powerful intent of new growth in 2017 for my self, my store, and my community. I urge you to spend time with the Sun in these next few days and feel into this rejuvenating and restorative energy. 
One of my intentions is to share more about my background in cosmology (looking up at the stars and planets) and astrology (seeing where the cycles are and how we fit into our personal and collective story unfolding). 

As creatives, we get to shift gears through all our interests and responsibilities. Let's explore something fun to make for New Years and beyond!

When we think of making something quick and easy for a holiday party, nobody ever thinks, "Gee, I think I'll make something velvet!" We have all read horror stories of slipping and sliding off the table and bunching up at the seams.  Perhaps for all these reasons, Laurel postponed making this adorable Megan Nielsen skirt, the "Axel," because I chose a yummy stretch crushed velvet. You have to feel this to fall in love! 

This will be the perfect skirt with a funky top for New Years!

Love my new Axel Skirt with a silk "My Easy Top."

Start to finish, one hour—maybe two if you're not Laurel.  You can decide to make it up in the afternoon and wear it that evening!  Pair it with a silk blouse or a holiday sweater, and you're set!


Look how different the option in the middle is!  Come by the store to see our finished garment on display in the Fashion Room.

Okay, let's get started!  The Axel has two pattern pieces for version 1.  The handkerchief hem skirt piece is the same for the front and the back.  Version 1 only takes a little over 2 yards of 60" fabric.


Like all velvet fabric, our crushed velvet has a very obvious nap, so all pieces must be cut in the same direction, preferably with the nap laying down toward the hemline.


Stretch velvet is no different than other knits - you should cut off the selvage edges before laying out your pattern pieces to ensure the fabric lays flat all the way to the edges.


We've read lots of techniques for sewing velvet - starching seams first, hand basting, tape, etc.  By far the easiest and most fool-proof method is to invest in a walking foot.  They take away all the issues with sewing velvet!  The feed dogs on the upper part of the presser foot pull the top layer of fabric along at the same speed as the lower feed dogs.  The result is a perfectly even, unpuckered seam.  It's a miracle!


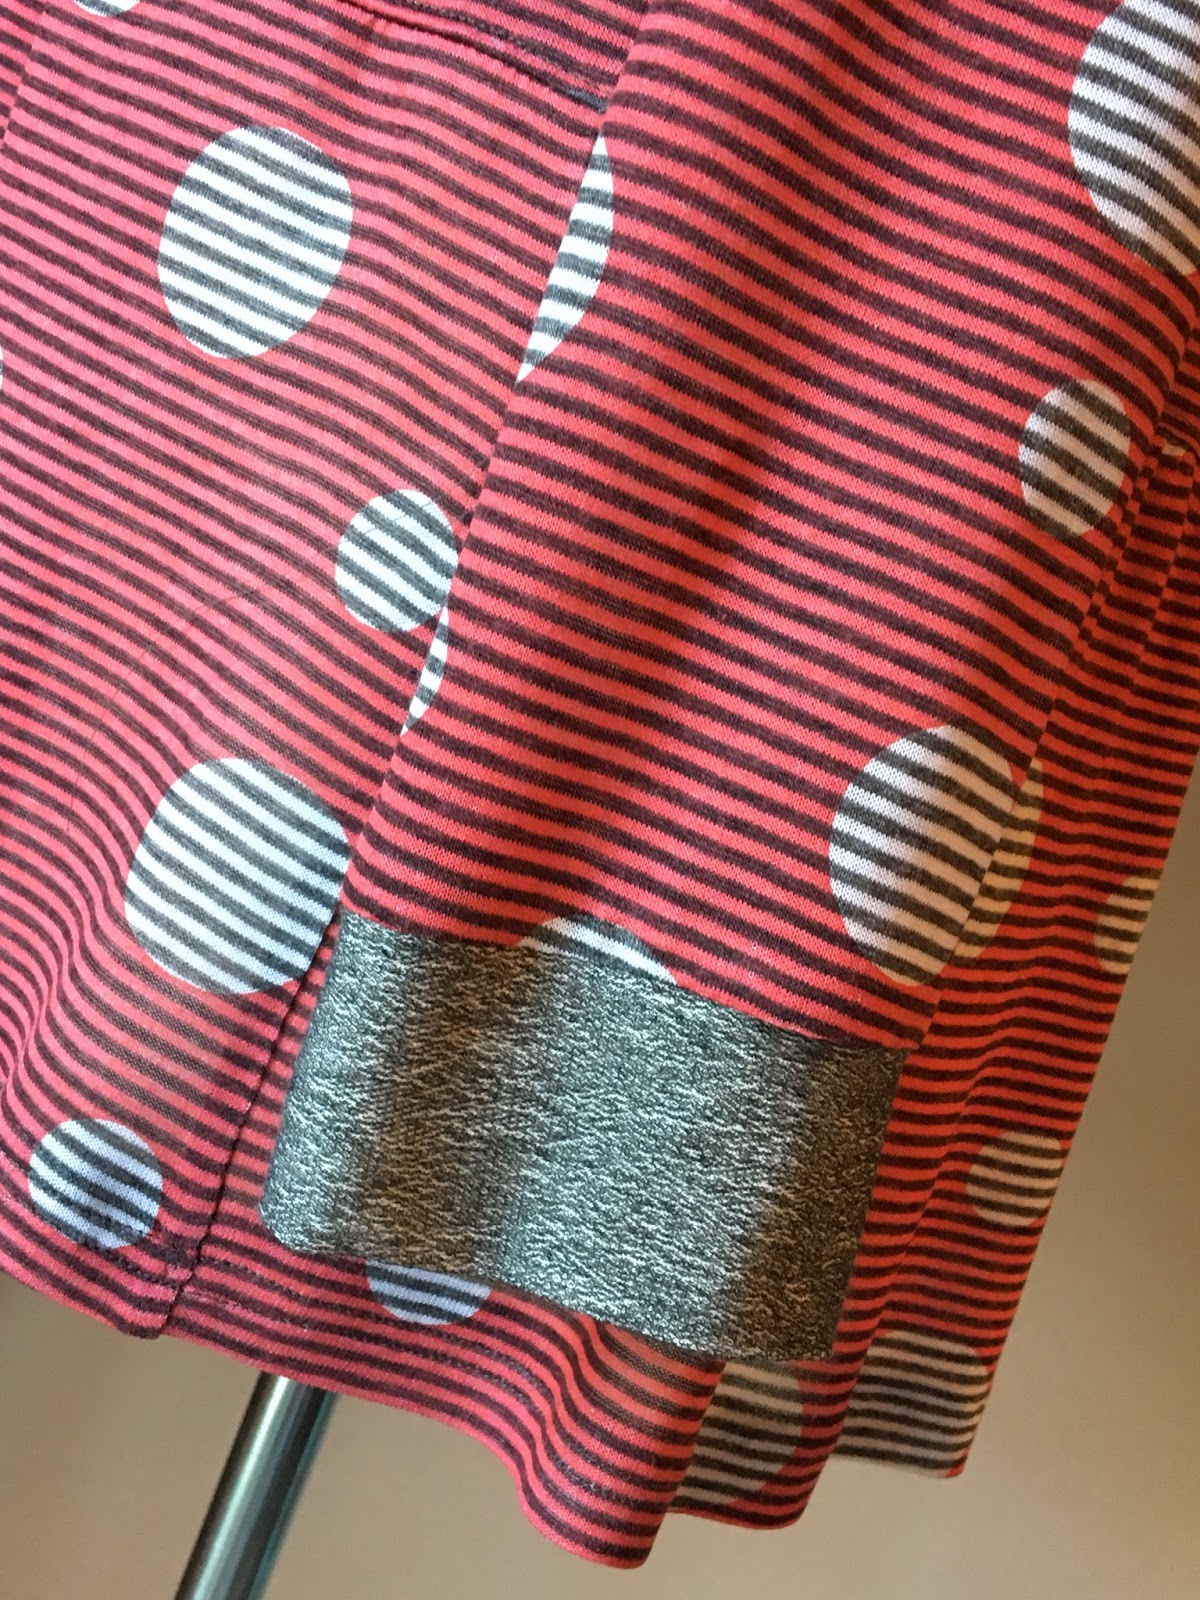
After sewing up four pinned seams and adding a waistband (just a folded band attached to the skirt with a zig zag stitch for stretch), all that was left was to hem the skirt.  Serging barely shows on this velvet, so we decided to just leave it as is.  You could always turn the hem under and stitch, but we took the easy way out!


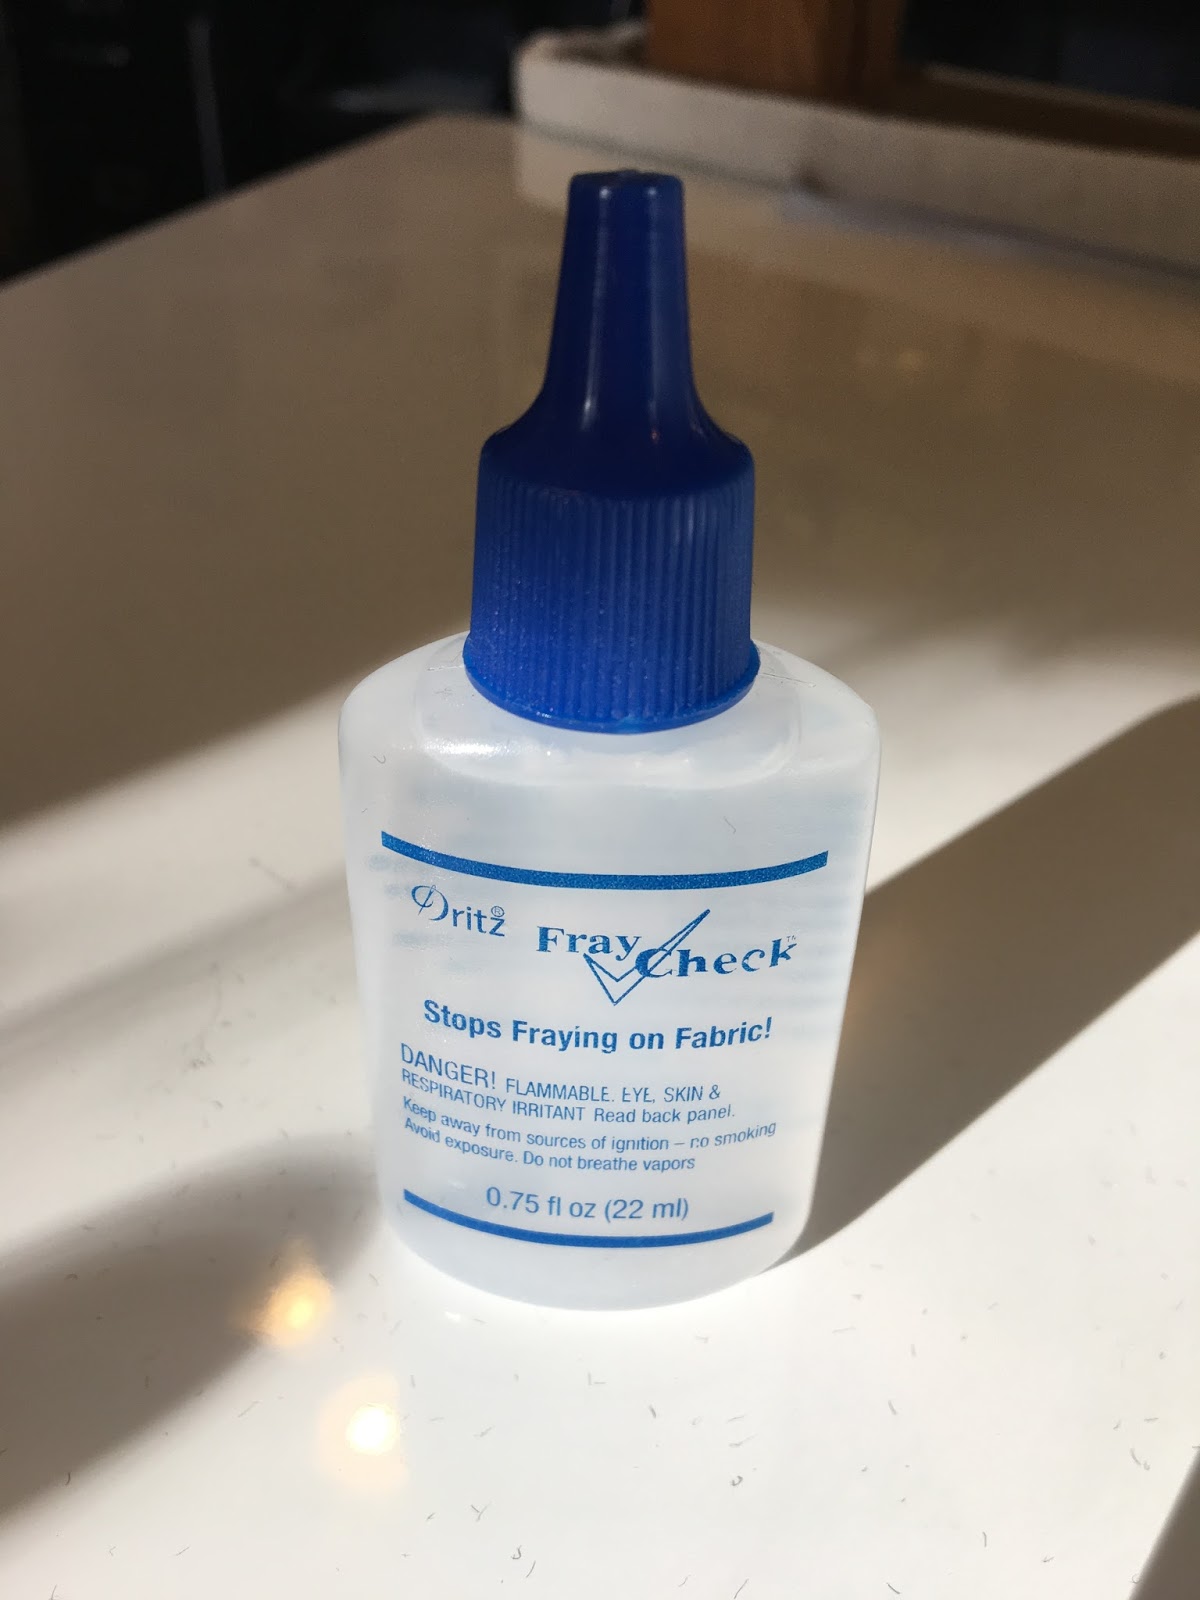
We did add some fray check on the corners of the hem to keep the serged edge from unraveling.  Fray check is your good friend and a must have in your sewing kit!


We have a whole new selection of velvet fabrics in a variety of colors, just in time for the holidays.  Which color would you choose?


Both Laurel and I also chose this gorgeous burnout velvet to make something special.


May the glow of candlelight and the warmth of love around you fill your season,
Suzan 

Axel Skirt with Show and Tell "My Easy Top"
 ~ available in our store!

Tuesday, December 13, 2016

We Make a Crowd Favorite Our Own! A New Take on the Linden Sweatshirt!

2016 has indeed been the Year of the Indie Pattern. I hope that you have enjoyed our choices and tips given throughout the last year! We are always looking for the next great pattern and fabric to inspire you. Today we will treat you to something special from Grainline Studio!

The Linden Sweatshirt is everywhere! It seems like they're constantly popping up in our Instagram feed, on sewing blogs, and even in the store! This pattern is designed by Grainline Studio, one of our indie pattern lines here at Stonemountain. You will find it made out of sweater fabric, sweatshirt fleece, every type and weight of knit fabric, not to mention a few woven flannel versions. It's deliciously simple to whip up and that must be why it's such a favorite!


Our Linden is not really a sweatshirt at all. Because the pattern is so easy, there are many ways to change the pattern up to make your Linden YOU! And don't we just love breaking the rules!

What fabric would you choose for your Linden?

We chose a very lightweight jersey knit to make our top.  It is accented with a heathered grey jersey knit which we used on neckline and sleeves.  To make our top little more day-to-evening, we added a gathered peplum at the bottom. Peplums have been around since the 1800's and were very popular in the 1940's to 1950's. We think they've stayed in style as they are flattering to most figure types and they can add an element of softness and femininity to a silhouette.

We remember a time when a crop of designers in the 80s were making wardrobe "capsules" consisting of 3 to 5 jersey knit garments that could be layered and tied in every conceivable way to make a dozen different looks. These knit garments were at the start of the serging, or overlocking, revolution for designers and home sewists alike. You could sew an entire garment on your serger without ever touching your sewing machine. These days many of the modern machines have stretch stitches and overlocking capabilities, so it's easy to finish off your handmade garments.

But you have to admit, it's still great to be able to sew a whole garment using a serger. Our Linden top does have a few places where Laurel used her traditional sewing machine, but she mostly stuck to the serger.


The neckband and sleeve cuffs are applied by stretching our grey contrast fabric of the bands to the bodice top and sleeves.  Laurel sewed them first, then serged the finished edge and then top stitched the band in place. We will say that the more knit bands that you apply, the easier it gets.  Practice makes perfect!


Our finished Linden top, with a peplum change-up!

The design details make it so much fun!

Loving my new Linden with my Ginger Jeans 


As this very intense and creative year wraps up, I hope that we have been able to inspire you to create some unique clothing of your own. Let's see what more we can dream into for 2017.

Thanks for sharing the ride!
Suzan
Sewing Resource Center since 1981


Wednesday, November 30, 2016

My New Favorite! The Pilvi Coat and Sewing Out of a Book!

We are always looking for great books and magazines to inspire us on our sewing journeys. Sometimes it's just a photo of a dress in a catalog or fashion magazine that we wish we had a pattern for, and other times we find a sewing book with a photo of a cute pair of pants to be made. When we first got Lotta Jansdotter's new book Everyday Style, we knew we had to make something!


Thumbing through the beautiful pages filled with stories of real women and exotic travels we found the Pilvi Coat, a simple design for either a coat or a shorter jacket.  It's perfect for the beginner (look out for a sewalong!) because it is unlined, with raglan sleeves and no closures.


Lotta's Everyday Style has five basic garment patterns and several bag patterns. They are all printed on two large pieces of pattern paper stowed away in an envelope in the back of the book.  Each pattern piece should be traced onto a new piece of paper for your pattern use.


We chose to make our Pilvi in a soft lightweight boiled wool/viscose blend in a gorgeous orchid color. Radiant Orchid was Pantone's Color of the Year in 2014, and we're trying to understand why we haven't used it until now!


Boiled wool fabric is made by felting knit or woven wool fabric. It comes in varying weights and since this one has viscose blended with the wool, it has a beautiful weight and drape. Although it is a knit fabric, it is very stable, making it easy to sew and requiring little finishing, as it doesn't fray.  Even though it is difficult to see, it does have two sides, just as a traditional knit does: the "knit" side and the "purl" side. While both sides are beautiful enough to show, we chose the knit side to be the "right" side of our Pilvi.

Because of the thickness of a heavy wool, grading the seams is important. It also means that you should press, press, press as you go along!


We have made other jackets in boiled wool and we have treated the seams in the same way - top stitching a scant 1/8' away from the pressed seam, on both sides. This makes it lie flat, and is a beautiful professional finishing technique.


We also understitch the neckline facing, helping it to lie flat.


Again, you don't really need to finish of the fabric edges, but we chose to serge the edges of the facing, the sleeve hems and the hemline of the coat. We thought it would make them lay flatter. We added top stitching and sewed the hem by hand.


This might be our favorite new coat! Did I mention that it has pockets? This beautiful boiled wool almost feels like a long sweater rather than a coat. It can be made in a range of fabrics including woven bottomweights or a sweater knit fabric from our collection. Try it in a range of lengths. The possibilities are endless!


Creatively yours,
Suzan
check our website at www.stonemountainfabric.com
for all the fabric, patterns and sewing goodies here!


Tuesday, November 8, 2016

Creating Dream Jeans: Getting Closer to Finishing the Ginger Jeans

We can shop for hours, days, or even weeks to find the perfect pair of jeans.  So it should come as no surprise that we decided to take the leap to make a pair ourselves. It was time to take a shot at making our dream jeans with all of the qualities and fit we've been searching for.  In late summer we started on a pair of Ginger Jeans by Closet Case Files by making a wearable muslin. Read that blog here!

We don't always use muslins for fittings, but when it comes to creating dream jeans, you better believe we are taking our time with fitting. We usually skip making a muslin when sewing patterns for knits or less fitted garments and make adjustments as needed on the final fabric, this is because the fit is more forgiving.

If you read back on our previous post about our muslin fitting, you'll see that we started with Version A of the Ginger Jeans - a low to mid-rise cut with a stovepipe fit in the leg. I was impressed with the fit of the Ginger muslin, but decide that I would prefer the higher-rise of View B. We decided it would be best to do an additional fitting on the final pair before Laurel finished them completely.

So we're back to the fitting room to make sure the fit is as dreamy as possible. What's the point of putting all that work into a pair of jeans and having the fit be a miss? To prepare for the final fitting, there are some aspects of the garment that can be done ahead of time. Laurel had a great time working on the bright blue topstitching and we are loving the pop of color!

Shop our neon topstitching thread here!
We chose a neon blue topstitching thread to go with our deep blue stretch denim, and every little thread shows, especially the wonky ones. Whenever your machine does develop a mind of its own and goes a little off, try to take a deep breath and let it go. In reality, nobody will see the mistakes that you do.


As you can see, we finished the fly front zipper, so we will not be adjusting our fit in the front panels for obvious reasons! We also sewed up the back seam, but did not finish it off with top stitching, so if we need to adjust the fit we can expand or narrow the seam. We also raised the pockets from our muslin fitting - pocket placement is everything for a flattering back view!


For the side seam allowance, we added a little width at the waist. Skinny jeans should be a snug fit, and we're guessing these might fit well in the hips but have gaps in the waist. We used a basting stitch to sew the two side seams and the inseam.


Let's give them a try!


This final fitting is important if we want our jeans to have the polish we expect. With the perfect fit, I'll be able to dress these jeans up for work with a blouse and blazer, or worn casually with a cozy sweater. The fabric is so soft and has a great stretch. Laurel should be able to take these back to her studio and put on the finishing touches.  I can't wait!

Want to make your own pair?
Try one of our amazing jean kits which include all the notions and findings you need.


Creatively Yours,
Suzan


Tuesday, October 18, 2016

More Than a Number


As we roll into the fall season, we can't help but feel the year coming to a close and reflect on all of our big changes and how we have evolved as individuals and as a store. This year brought two large shifts for us with the ending of our sewing classes and the decision to no longer carry the Big 4 pattern companies. Long-term these decisions will support our mission to remain a provider of top quality fabrics and sewing supplies, but short-term these decisions took months of consideration to come to a close. But as with all changes, when one door closes, another opens and we saw this as an opportunity to expand our selection of independent patterns, along with our expansion of fabrics!

These big changes, along with big shifts in the store have highlighted our metamorphosis that has been in the making over the last couple of years and we couldn't be happier to be where we are now. Thinking back on our earlier years, we remember the beginning of our garment sewing revolution when independent pattern options were scant and we had a little revelation about patterns in general.

For years we have all made garments using the big pattern companies and we still have favorites that we make over and over again. For example, Vogue 8804 is our favorite Chanel-style jacket, Simplicity 7810 is a cute little dress, McCalls 6408 is an easy sweater jacket, etc.  But if you ask us a month later, rarely would we remember the number. This happened all the time, even with go-to patterns we made over and over again!

What we love most about our independent designers is that they name their designs. If you ask our staff what they are wearing, it's the Betty Dress, or the Coco Top, or the Three's a Charm Jacket. The names give the garment a personality of its own, and it becomes like an old friend as you sew its seams. So no surprise, as I plan my own cool weather wardrobe, I am focused totally on the pattern names our indie designers have given them. If you have a few moments, you can refer back to my 2015 roundup blog that covers many other favorite garments to make.

Folkwear is a pattern line we have carried for years - one of the original indie pattern lines!  I haven't chosen a garment from them in recent years, so I thought it was time to add the Old Mexico Dress.  It the perfect little top to wear with jeans, and giving a nod to my ethereal/hippie side, I chose a soft Liberty Tana Lawn print filled with suns, moons, and near east images.  The top is super easy to make and I know my astrology friends are going to want one as well.


If you are an Instagram follower (I'm @fabriclady3!) and follow other sewists, you will find the Linden Sweatshirt from Grainline Studio everywhere.  It is a very versatile pattern because you can mix fabrics, textures, and colors. In fact, I'm doing a little pattern hack on my Linden, by adding a peplum to the pattern. I chose two soft lightweight rayon knits, even though this pattern would do equally well in heavier fabric such as a sweater or ponte knit or even a fleece. Though I will only use the grey knit for the neckline and sleeve bands, imagine the possibilities of entire sleeves in a coordinating fabric.


Laurel, my seamstress, collaborator and dear friend, made another Grainline Studio pattern, the Alder Shirtdress. I love her version and requested one for myself to add to my fall/winter wardrobe. One of the things that I love about the Alder is that it is sleeveless. This may sound strange for a cool-weather garment, but I love the opportunity to layer it with one of the awesome jackets or sweaters that Laurel has made me while I am working in the store.


And since you can never have too much ikat fabric, I chose a soft lightweight ikat for my Alder. I've been on a mission this year to expand my color horizons, I still keep the little swatch book that was made for me years ago when I had "my colors done" with John Kitchener at Personal Style Counselors. This lovely rose-toned ikat is perfect to bring out my skin tone and eye color.


 We have made a number of Colette Patterns in the last few years, and they all have lovely feminine names - Aster, Laurel, Myrtle, Dahlia, and Moneta.  Each one is unique with its own personality. Now we'll be adding the Wren dress to the mix. It's a great knit dress with a fitted, wrap-style bodice with a gathered or a-line style skirt. It's a style that is sure to flatter every figure.

We chose a bold patterned poly ITY knit. The pattern calls for a 3/8" seam allowances and is designed to be serged together.  But if you don't own a serger, a small zig-zag or knit stitch will work. I am excited to wear this with boots and a jacket this winter and sandals next spring!


We also thought we'd try a dress from one of our newer pattern lines, Liesl & Co.  We've seen some inspiring versions of the Cinema dress and I know it will feel great with its simple lines and ease of wearing. Although Liesl & Co is not a new pattern company, they are new to our collection and we are excited to try them out. Already, we can see that the instructions are wonderfully easy to follow. And just like ikat, we can't get enough of double gauze. I'm thinking this beautifully soft fabric will be transformed into one of my new favorite dresses for work. (Are you starting to notice a color pattern in this round of garments?)


In another diversion from the big patterns companies, our indie patterns don't always come in an envelope! Lotta Jansdotter's new book Everyday Style features five garment patterns and four totes/bags. Every cold weather wardrobe needs a lightweight jacket or coat. Perfect for layering over sweaters and scarves, the Pilvi is a simple coat that has four benefits for the beginning sewist:  raglan sleeves, no lining, no collar, and no buttonholes!

We are making our out a soft lightweight boiled wool/viscose blend...and in keeping with my new colorful self - ORCHID!


Stay tuned for a blog featuring this sweet coat!

As the weather turns, we look forward to completing several other named garments that patiently wait their turn in Laurel's studio - a pair of Ginger jeans by Closet Case Files (using our very own Stonemountain Jean Kit for the Ginger Jeans!), the Lottie by Christine Haynes, and a pair of Marigold trousers by Tilly and the Buttons.

We love what this garment sewing revolution has become, with so many high quality pattern options from independent designers. And with names like these, we're likely not to forget them any time soon. So long numbered patterns!

Stop by our website to shop all of our independent options or if you're local, come see us and say hi!

I always love to see what you are sewing up, so remember to tag @stonemountainfabric on social media or email us photos of your creations to info@stonemountainfabric.com.

Ever so grateful,
Suzan
or respond right here on my blog

Celebrate Creativity, Celebrate Yourself!